CREATING A NEGATIVE
Materials needed: A free image editing software (e.g., Photoshop, Sketchbook, GIMP) and transparency paper for inkjet printers.
Uinkit 30 Sheets Pintable Transparency Film (Amazon Affiliate link below).

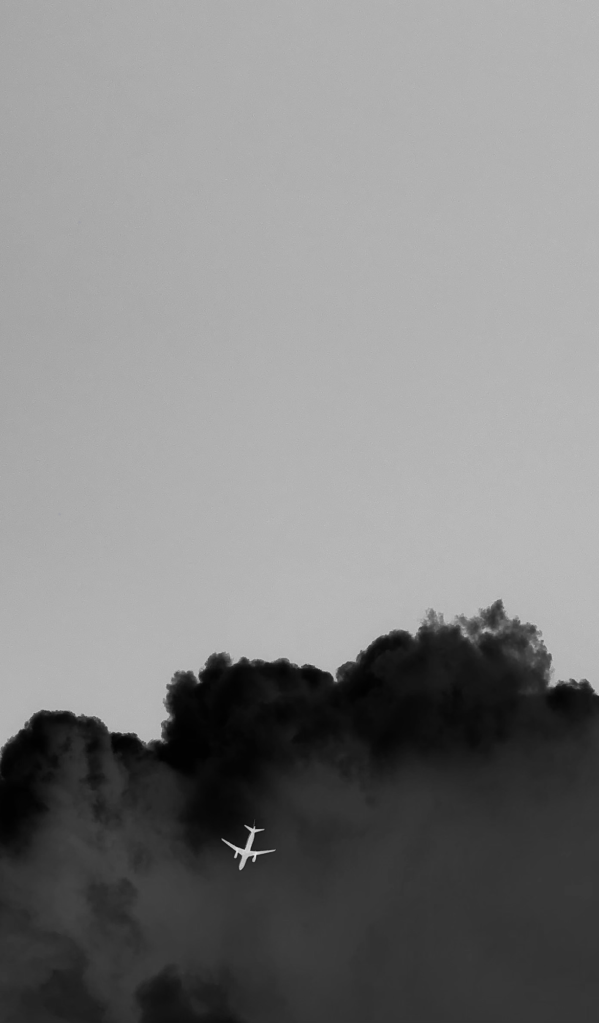
1. Convert the image to black and white
Open the image in your editor and convert it to grayscale (black and white). This can be done easily in most native photo apps by selecting a filter in the Adjust screen to “Mono” or “Noir”.
2. Invert the colors
In the photo editing software: Apply the Invert color function so that black areas become white and white areas become black.
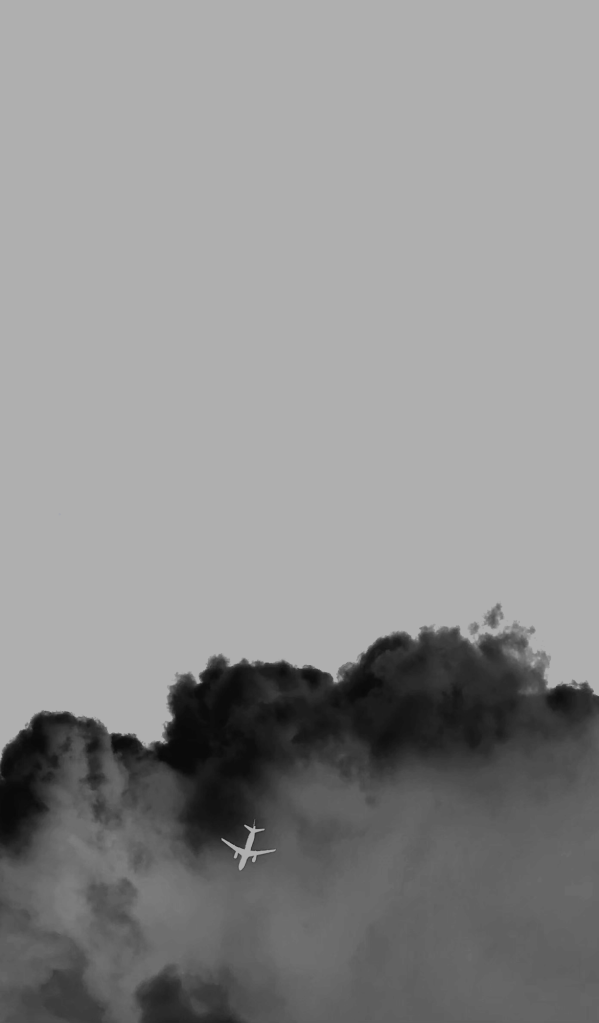
3. Adjust the contrast
Adjust the contrast setting until the image looks sharp and clear. (Remember anything black will appear as white, and anything grey-white will appear as shades of blue in the final development. Adjust the contrast accordingly.)
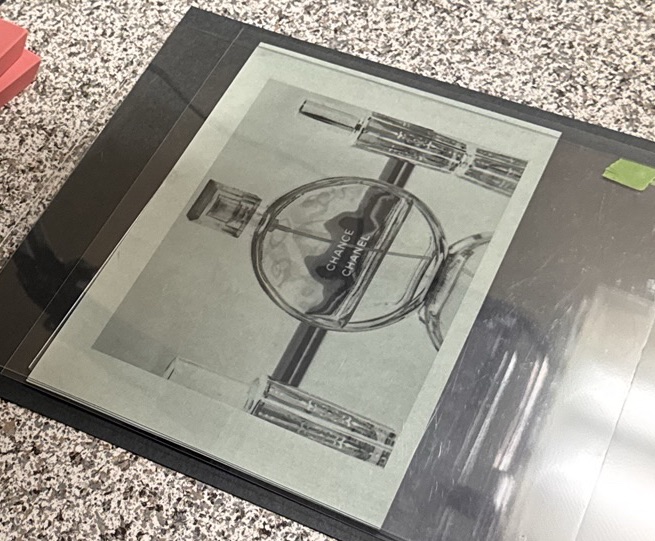
4. Print the image
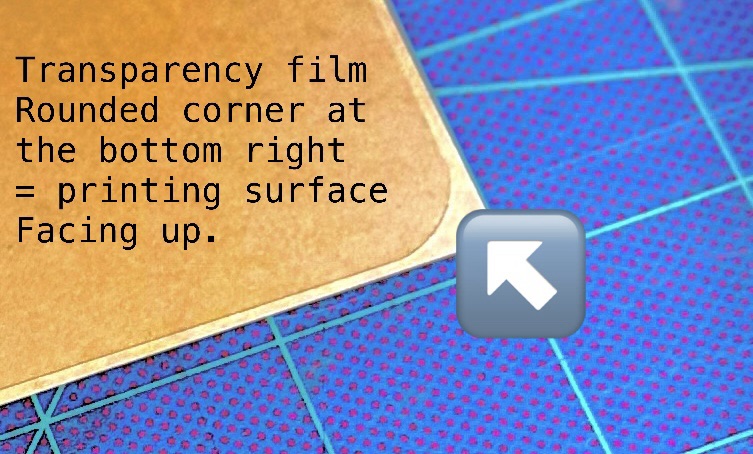
Print the edited image onto inkjet-compatible transparency film, making sure the printable side of the paper is facing the correct direction in the printer.